If it’s 2022 and you don’t have an explainer video, what’s wrong with you?
I’m just joking, but I totally get it. You probably want to get an explainer video because you understand why it’s so good for your business, but it might seem a little bit intimidating or you’re not sure where to start.
Producing an explainer video might seem like a massive project and it is in a sense, but if you break it down into smaller tasks, it’s way more manageable.
So in this ultimate explainer video guide, we’ll walk you through everything when it comes to making an explainer video and all the things you need to consider.
Overview
In traditional video production, so live action videos such as ads, commercials, short films, documentaries and everything in between, the process is broken down in 3 big phases: pre-production, production and post-production.
I like to apply a similar sort of process to explainer videos, except I call them a little bit different:
Let’s look at each one in particular.
PHASE 1 – Planning
This is the most important part of any project, because as the old saying goes, “failing to plan is planning to fail”.
This is where you make all the big decisions and where you can get quite creative. Everything else that comes after is literally just executing the plan and sticking to it.
Goal
First, you need to identify what it is that you’re trying to achieve, basically what’s the goal of your video. Do you want to build more awareness around your brand? Do you want to increase signups for your free trial? Are you trying to raise some funds from investors?
The key most important thing here is to only try to achieve one thing per video, if you try to do more it will just get super messy and confusing for anyone watching.
Script
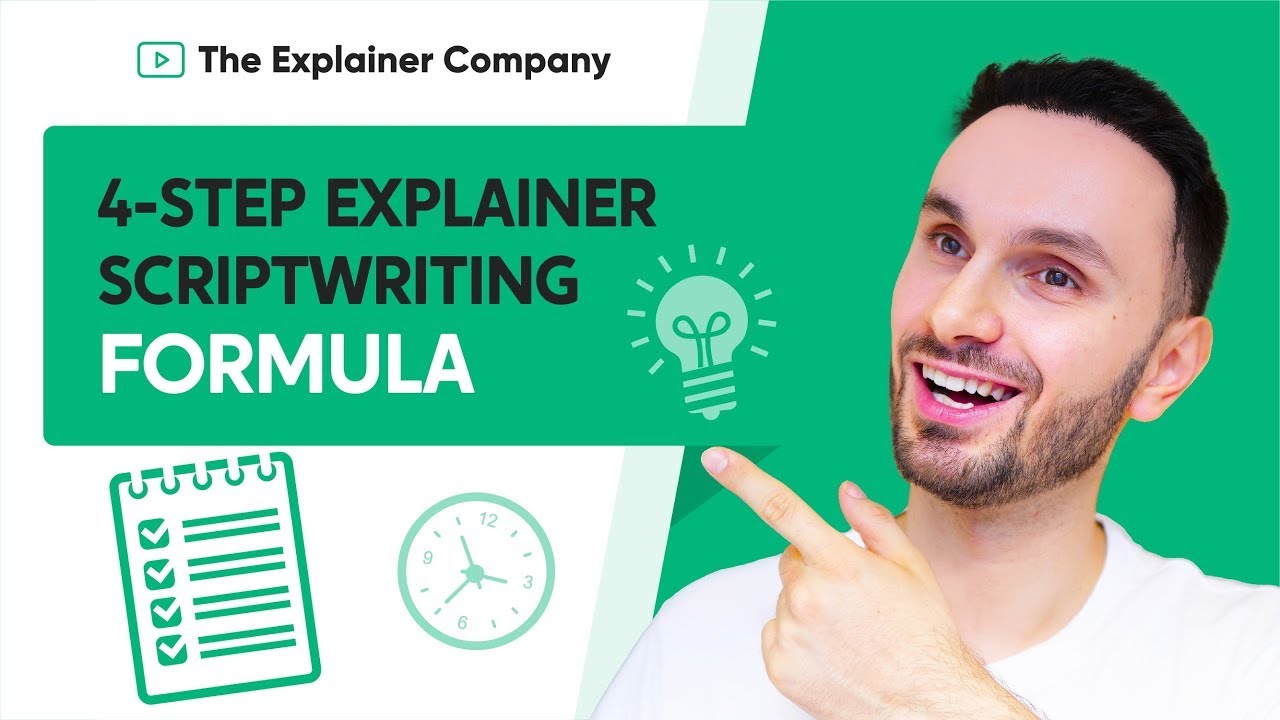
If you happen to write the script yourself instead of hiring a professional, I suggest you use our scriptwriting framework that we call the “classic scriptwriting formula”. It’s a simple 4 step process that you can apply immediately to give you a great structure to start with. You can read more about it in this article.
Step 1 – Problem: This is where you talk about your target audience’s problems and pain points to show that you are talking to them specifically and you understand exactly what they’re going through.
Step 2 – Solution: And of course, you introduce the instant and magical solution, your product or service.
Step 3 – How it works: This is where you explain to them exactly how you’re going to solve their problem and if you can simplify in 3 steps, that’s extra bonus points.

Step 4 – Call to Action: You need to end the video with a call to action, telling people what to do next. Whether it’s sign up for a free trial or schedule a demo, you need to be specific and guide people, don’t expect them to do exactly what you want without telling them.

Storyboards
Once you have a final script, it’s time to break it down into multiple different scenes and work on some storyboard concepts. A storyboard is basically a sequence of drawings that are a visual preview of each scene to see how the story will play out.
You can do this with a pen and paper, but it’s much easier if you just download and print a storyboard template from anywhere online, it’s already formatted nicely and you just start drawing. You can find one at this link.
If you want to find more about storyboards, check out this article.
Once you finish the storyboards as well, it’s time to finally start the production!

PHASE 2 – Production
Voiceover
The first thing you do in production is to get a voiceover recorded. I would strongly advise you against recording the voiceover yourself, unless your voice is somehow connected to your brand and well recognised, otherwise, I suggest you hire a professional.
Here you need to decide on things such as gender, age and style and see what would work best for your own brand.
There are options online for all budgets.
For smaller budgets, I suggest you check out Fiverr.com, where you can get a voiceover starting anywhere around $25 or so for a minute all the way to around $50 or more.
For more professional projects, I suggest you have a look at Voices.com, where budgets start at a minimum of $100 and you can spend all the way up to $500 or so for an explainer voiceover. What I love about voices.com is that you can get people to submit auditions reading a sample of your script which is something that our clients absolutely love listening to instead of just checking random voice demos. To find out more about how to choose a voiceover artist, check out this article.

Video
Alright, now it’s time to build the video and this is where things get tricky. This part is probably the most complex and we could talk about it for hours. There are two big options:

1) Hire Professionals
This is the most obvious one, but of course also the priciest one. You can hire either freelancers if you’re on a budget or go with with a professional explainer production company like ours if you want the best quality possible. For details on pricing, make sure to check our article (note to self: add link) about how much does an explainer video cost. Prices for a good explainer video can range anywhere between $2,000 all the way to $10,000 or more.
2) Do It Yourself
The most affordable option is to just make the video yourself. Now, I’m not talking about learning vector graphics, illustration, motion design, and character rigging yourself, because that will literally take you 1,000+ hours to master and reach a great level.
But there are some easier options.

a) Animation Software
There are a few options out there that are suitable for beginners and are very affordable. I’m thinking about platforms such as Animoto, Vyond, Powtoon, Animaker, Toonly, Doodly and so on. These are usually very easy to use, but also quite limited in what you can achieve with them.
b) Stock Assets
You can also use ready-made animation assets such as stock animation or animated stock GIFs. You can find a massive catalog of those on VideoPlasty.com – they are pre-animated and good to go, all you have to do is drag & drop them in a video editing software or in PowerPoint and you can easily arrange the scenes there in order.
The cool thing about stock animation is that it’s built by professionals and it looks amazing, so if you find good items for your scenes, you only need to do some very basic video editing. Usually, this can be done in free software such as iMovie or Keynote on a Mac. On Windows, you can get a free video editing software called DaVinci Resolve and for GIFs, you can use PowerPoint, which pretty much every Windows user has.
PHASE 3 – Publishing
Alright, now we have a great explainer video, it’s time to share it with the world.
YouTube
What I strongly suggest to pretty much 99% of our clients is to upload their videos to YouTube. I know there are a ton of other more professional video players out there such as Vimeo or Wistia, but YouTube is the 2nd largest search engine in the world and gives you the opportunity to get a lot of free organic traffic, which the other platforms don’t.
Subtitles
I recommend you add subtitles to all your videos in general, especially explainer videos. If your market is worldwide and maybe they don’t speak great English, it’s good to help them by being able to read subtitles. But not only that, it’s great even for native speakers because a lot of people might just watch your video at work or in other situations where they don’t have access to audio, so you want them to still be able to consume your video and understand your message even if they can’t hear it.
Website
When embedding the video on your website, it’s highly recommended to add it above the fold. This means the first section that people see of your website, without having to scroll down. If they have to scroll, they might miss your video. This is important because the vast majority of people will prefer clicking on a video rather than reading all the text on your page.
Retargeting
This is a bonus one, but I see a lot of our clients being very successful with this strategy. Retargeting is a type of ad that follows you around the web. You’ve most certainly seen them before, for example, you probably visited a website that sells shoes but then you had to click away for whatever reason, and now for the next few days all you see around the web and on social media platforms are ads from the shoes website following you around reminding you to come back and complete your purchase.
Alright, that’s pretty much it. Explainer videos can get incredibly complex and we could talk about them literally for hours. We’re barely scratching the surface here, but I wanted to make this video more like an overview of things that you need to consider so you can get a better idea about how it works.
To find out more, check out our entire Explainer Series on YouTube for free or check out our blog Explainer Guides where we go even deeper and cover everything related to Explainer Videos.
And if you want to get an amazing explainer video for your company to stand out from all the noise, produced by a professional and experienced team with over 10+ years in the industry and more than 400+ videos produced for clients all over the world, then browse our website, check out our portfolio and get in touch!