In this article, we’ll look at the magic behind producing an awesome explainer video. We will describe the process that we go through here at The Explainer Company when we produce a brand-new video. And this process is fairly universal with maybe some slight variations, but pretty much all explainers are produced like this. So, let’s get straight to it!
Step 1: Kick-off call
Absolutely every project starts with meeting our client on a video call to understand who they are and what they have in mind for the project, but also to answer any questions they might have and to walk them through the entire process.
Step 2: Creative Brief
This is a document that we send all of our clients with a set of standard questions for them to answer. Nobody knows the company better than the owner or people in charge, so it’s best if they take 15-20 minutes to sit down, think deeply about the answers, and narrow down exactly who they are, what they do, and how. This will later be very helpful when writing the script.
Step 3: Script
This is where a copywriter will work his magic, and put what the client does and why it matters into words. For almost all videos, these are the words that will be read by the voiceover artist. A lot of people might neglect this part because it’s literally just a few paragraphs usually and they think it’s easy, but honestly, I think it’s the most important part of any explainer project, so if you want a great explainer video DO NOT neglect this. If you hire a great studio like ours there’s nothing to worry about, but if you write the script yourself try to spend as much time as possible on the script.
A general guideline to keep in mind is that around ±150 words of a script will be ±1:00 of video.
Step 4: Voiceover
This one is pretty self-explanatory. It’s actually the only part where we have to look at talent outside our company and hire a voice artist that best suits our project. This is where we look at things like what language we want to make the video in. If it’s English, do we need a North American accent or a British accent? Or other things such as gender, age, and style. We’ll go a little bit deeper into how to choose a voice artist for your project in another article.
Step 5: Storyboards
Same way you build a house, you first do a couple of sketches and make the plan, you don’t just start laying bricks directly and then try to decide where you put the kitchen later.
Same with a video, it’s important you plan everything ahead so that the team and the client are all on the same page. This is where we take the script and break it down into multiple scenes, then we come up with visual concepts that would best bring our script words to life. Visual storytelling is an integral and fascinating part of creating an explainer video, so the storyboards is where you can get quite creative as everything else that comes later is literally just executing the plan. You can learn more about the storyboards process in this article.
Step 6: Illustrations
Once the client reviews and approves the storyboard sketches, it’s time for the illustrator to build fully designed scenes. This is where he or she takes the sketches and brings them to life. Of course, this can be done in multiple different styles and is usually done according to the client’s own branding. Once illustrations are done, we now have fully designed scenes for the entire video, but at this point, they are just static scenes.
Step 7: Animation
This is where the magic happens. A motion design artist will take all the static scenes from the previous step and together with the voiceover, will start animating each scene and match the timing of what is happening on screen with what is being said by the voice artist.
This is usually done in a software called Adobe After Effects and it can get quite technical, but is honestly a lot of fun.

Step 8: Sound Design
This is a little bit of a bonus step as it depends on your budget, the package that you choose, and how professional you want to go. Audio is equally as important as the video, so it’s great to have a sound designer to bring the story to life through the power of sound effects and music that match perfectly what’s happening on screen, to take the viewer on an emotional journey that stimulates the auditory sense as well.
Step 9: Delivery
Time to celebrate and grab a drink, your video is ready!
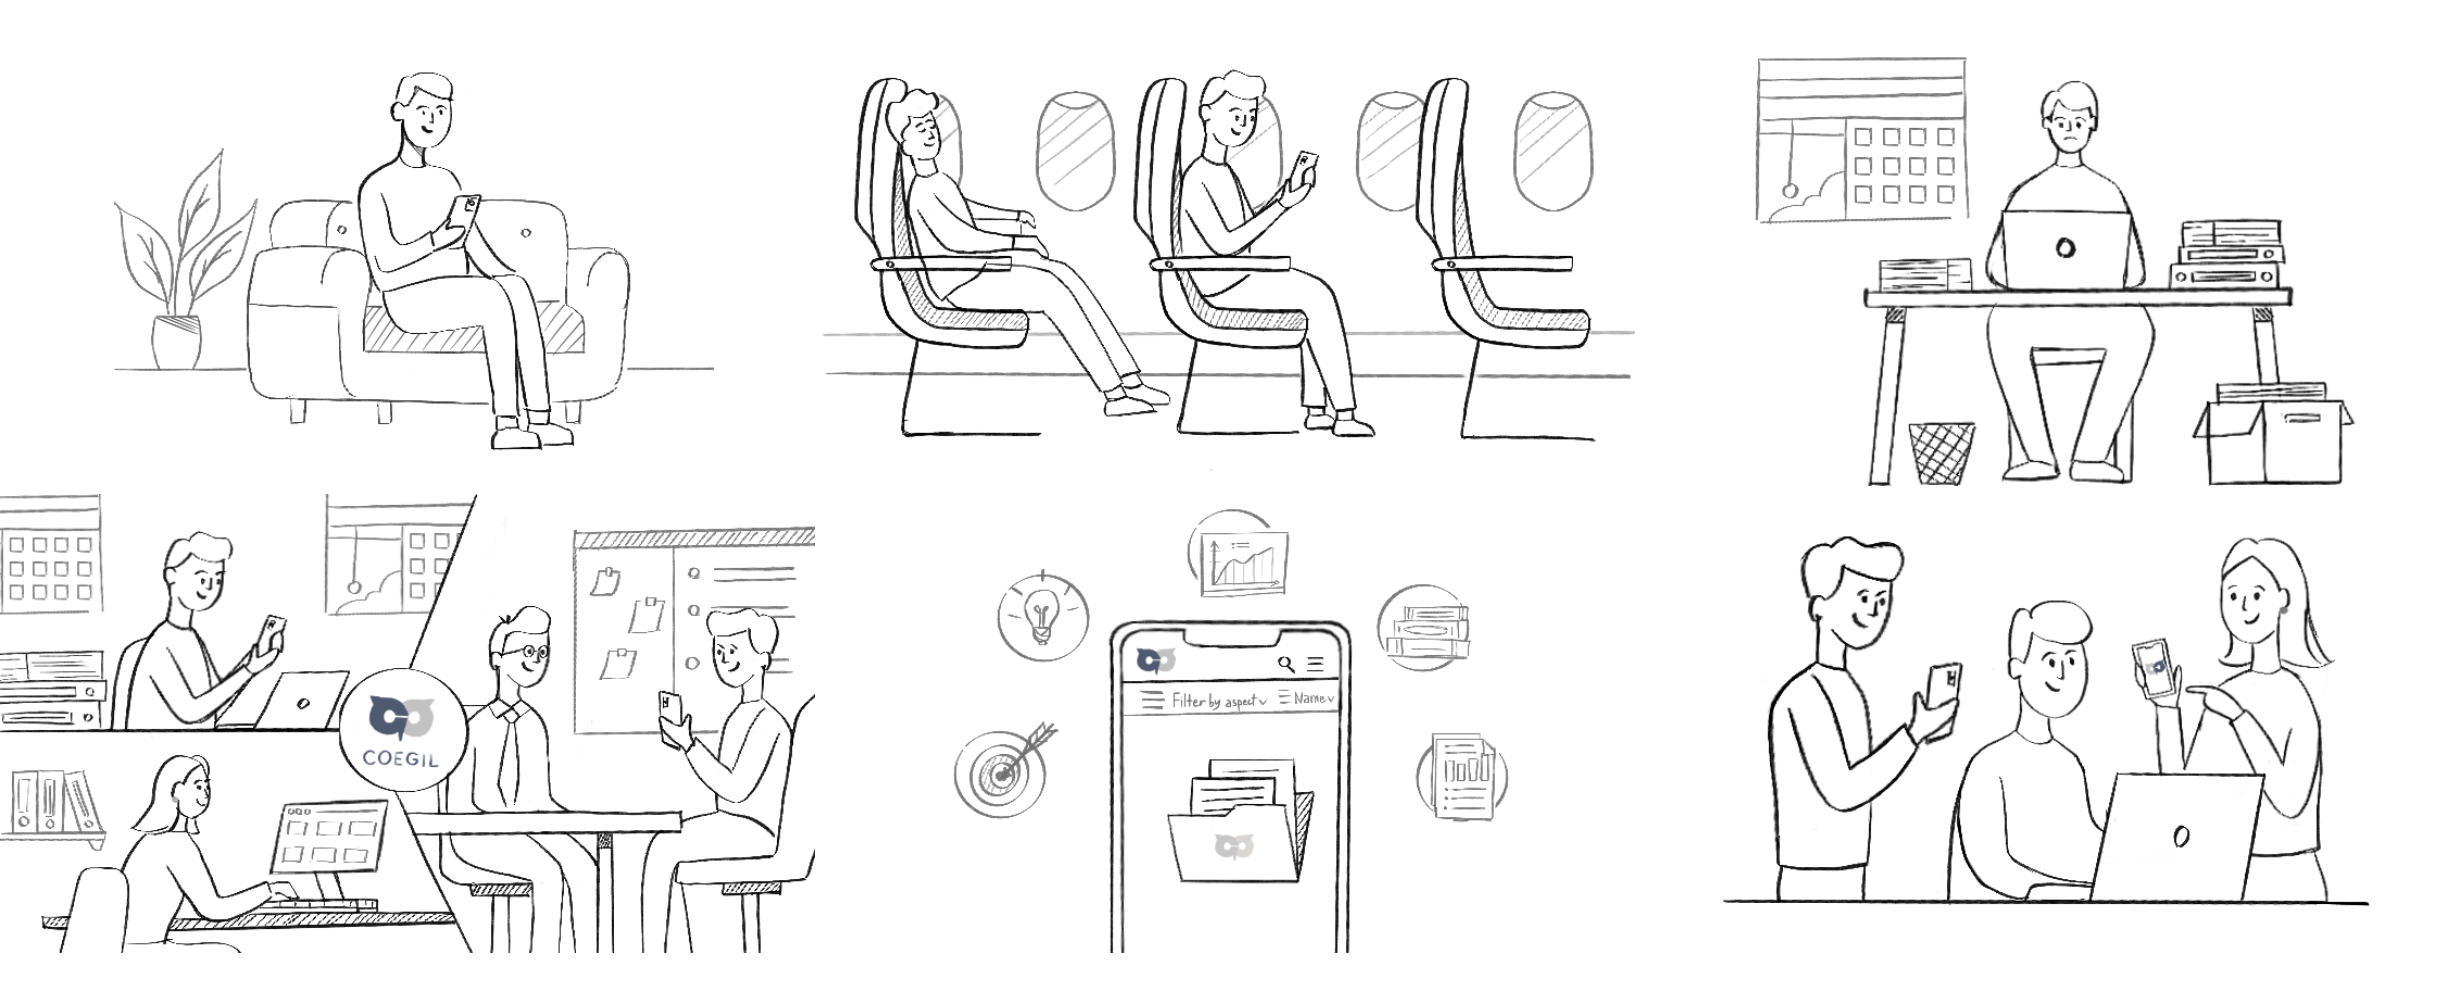
Coegil Explainer Video
As you can see, creating an amazing explainer video is a lot of work and brings together a lot of people from various backgrounds.
One extra thing worth mentioning is that revisions are possible, but are usually only included at the current phase or step. This is because each step builds on the previous ones and it gets much more complicated later on. For example, once you reach the animation and you decide to make changes in the script, it means recording a new voiceover and creating new scenes, while throwing away a lot of work already done in illustrations and animation. That being said, it’s always possible to change anything, but it will likely cost you extra.
If you want to find out more, check out our entire Explainer Series on YouTube for free or check out our blog Explainer Guides where we go even deeper and cover everything related to Explainer Videos.
And if you want to get an amazing explainer video for your company to stand out from all the noise, produced by a professional and experienced team with over 10+ years in the industry and more than 400+ videos produced for clients all over the world, then browse our website, check out our portfolio and get in touch!
